Showing posts with label telescope. Show all posts

Sunday, 2 December 2012

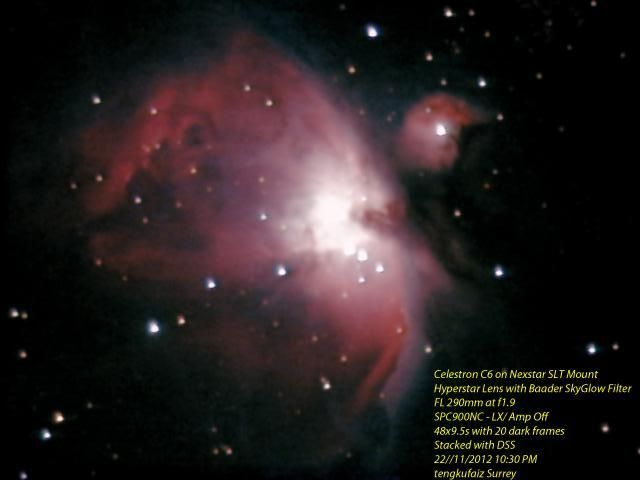
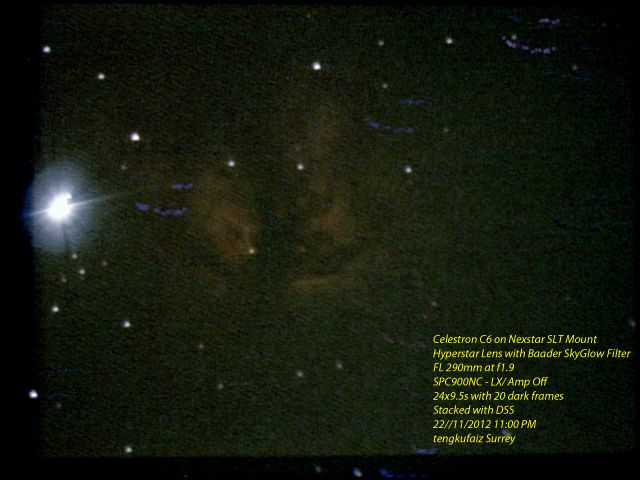
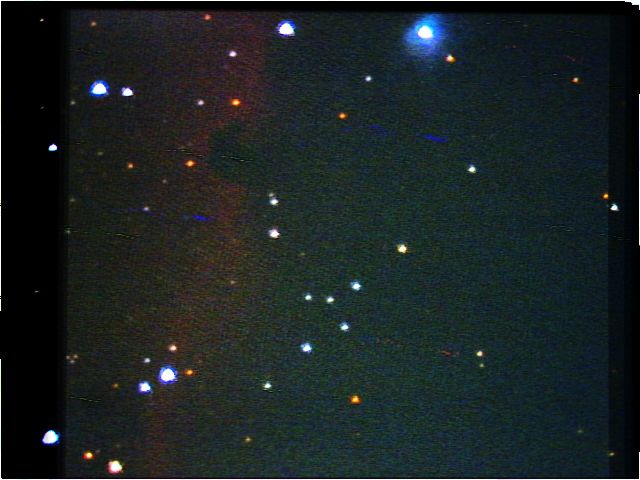
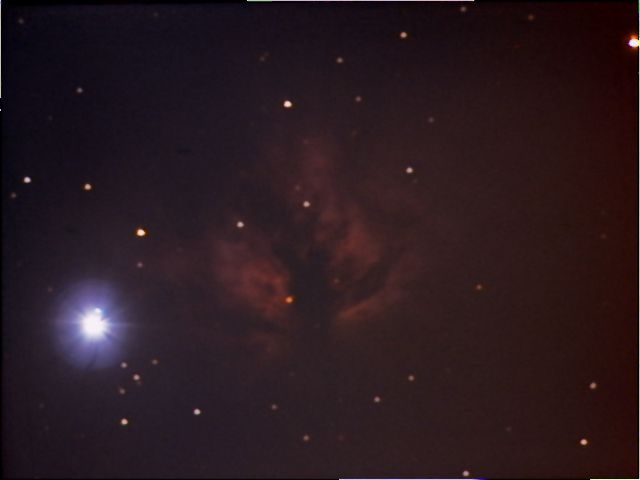
Celestron C6 Hyperstar SPC900NC Orion and Flame Nebulae

Orion Nebula M42 80x10s 13.3min 9xDark
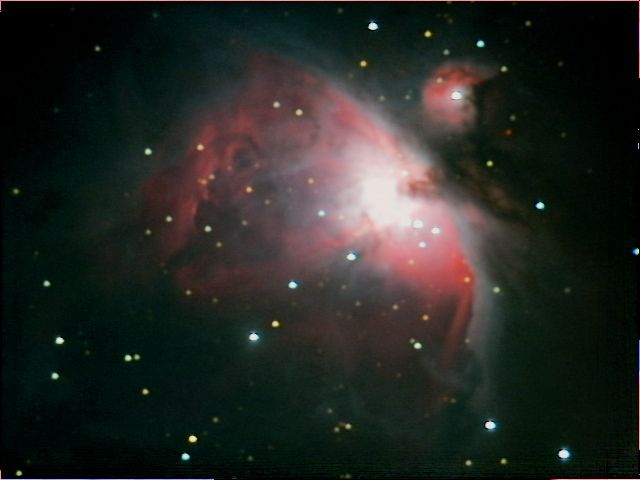
Flame Nebula 135x10s 22.5min No Dark
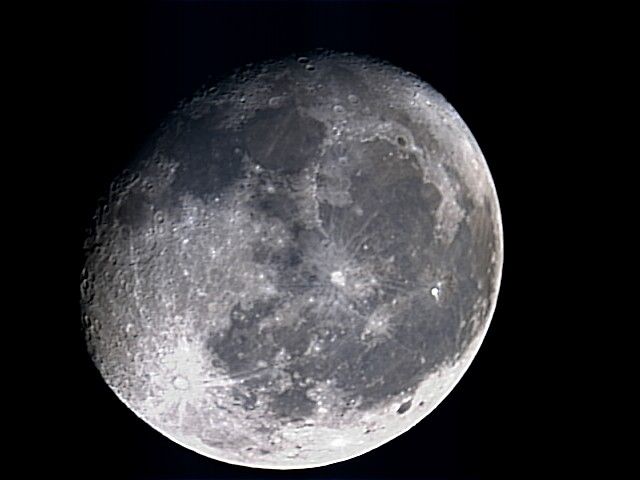
Moon 747 Stacked Frames in Registax
Equipment lists:
Celestron C6 SGT/SCT
Nexstar SLT Mount
Hyperstar Lens FL290mm f1.9
Baader Neodymium Filter
SPC900NC LX/Amp off
Stacked with DSS

It was a very clear night but very cold as well. The moon was 90% illuminated as shown above. The hyperstar collimation was brought to the default position; screwed down all the way back. It seems to be rather acceptably collimated with the default. The moon looks good. The starts in the nebulae photos looks okay as well.

There seems to a problem with the dark frame calibration this time. A total of 29 dark frames from a group of 9 and 20 frames were taken but if all of them were used for calibration, vertical streak would appear on the images. So, only 9 dark frames were used for calibration on Orion Nebula while none for Flame Nebula. Some forum suggested that the streaky image is a result of mismatch dark frames, i.e different temperature between the light and dark frames. This is very much possible as light/dark frame are taken at different time, sometimes at 20-30 minutes apart. Some suggested not to use dark frame. Even without calibration using dark frame, there seems not that much noise after all except for one or two visible hot pixels. The frame capture sequence is as follow, Orion, Dark 9, Orion, Dark 20, Flame. 

Saturday, 24 November 2012

Telescope Arduino Stepper Motor Focuser Current Rating using 28BYJ-48 5V and 12V

The motor focuser is used to control the focusing knob of the Celestron C6 SCT. The controller board is Arduino Nano and the stepper motors is the 5V or 12V versions of 28BYJ48. It seems that the 12V version is using much less current as compared to the 5V version when supplied with 12V. It also should generate less heat.

Current Measurement
Arduino Nano and Driver Board : 40 mA

28BYJ48-5V supplied with 12V (inc arduino nano and driver board)
Max. speed (Delay@750µs) : 380 mA
Min. speed  (16000µs) : 510 mA

28BYJ48-12V supplied with 12V (inc arduino nano and driver board)
Max. speed (900µs) : 150 mA
Min speed (>10000µs) : 180 mA

The delay in microsecond as shown in the parentheses refers to the delay when changing the step of the stepper motor. The shorter the delay, the faster the motor will spin. From stall, the maximum stepping rate for the two motors are different and it is faster in the 5V version as shown above. Once the motor is running, the delay can be reduced slightly to achieve faster spinning. As for the 12V version, ~17RPM is achieved with 850µs delay and ~19RPM with 750µs delay.

Nexstar SLT Current Rating Measurement

Measured Current for Nexstar SLT without Load
Idle : 150mA
Altitude slewing only (Rate 9) : 330mA
Azimuth slewing only (Rate 9) : 90mA
Azimuth slewing only (Rate 6) : 30mA
Total current at Rate 9 slewing speed on both axes (Idle+altitude+azimuth): 570mA
Total current when tracking : 190mA

The real max. current flow is lower than the 750mA as suggested by the manufacturer. Slewing at lower speed uses less current then faster speed. With Celestron C6 SCT as the load, the azimuth current stays about the same (~10mA increase). When going up and down in the altitude axis, 30mA higher and 20mA lower current are measured, respectively. The telescope is not in perfect balance and this might cause the differences. The difference in the azimuth and altitude current suggest that the motors used are different. The total current when tracking is only 190mA which is not that much. Slewing seems to be eating the battery the most especially in the altitude axis.

Thursday, 22 November 2012

Second trial with C6 Hyperstar SPC900NC

Orion Nebula/M42 (7.6 minutes) 

Flame Nebula/NGC2024 (3.8 minutes)

Horse Head Nebula/IC434 (5.07 minutes 16x19s* Max gain)
16x19s 5.07min 14xdark Max Gain

Seems to be having more success this time.

Equipment lists:
Celestron C6 SGT
Nexstar SLT Mount
Hyperstar Lens FL290 f1.9
Baader Neodymium Filter
SPC900NC LX/Amp Off Mode
Stacked with DSS

Tuesday, 20 November 2012

Starry Dave : Dave's Focus Meter

Dave's Focus Meter
"Dave’s Focus Meter gives you a visual indication of just how sharp your current video screen or image is. It will work with any video source, live or recorded, and any image format. It is designed for astronomy, microscopy, security and any area where precise focus is important."

A percentage score is given to the current image as an indication of the focus accuracy. As the focus is changed, the score will be given relative to the intial image score. A better image will receive higher score which is capped at 100%. By going in and out of focus, the percentage score will increase to a maximum score and then decrease. The maximum score is achieved when image is sharpest which indicates the correct focus point. 
I tested this out on a distance wall and  the software gave the correct indication of the focus level. It can control a ASCOM motor focuser as well. However, the autofocusing using ASCOM platform is not completed yet. It shouldn't take long for the author to finish it. An interesting piece of software to hep with the focus. But, I'm not sure if it will work on a star?? The download link is provided in the user manual.

Sunday, 11 November 2012

First Light on Orion Nebula using SPC900nc LX Mod


Celestron C6 on Nexstar SLT Mount
Hyperstar Lens with Baader SkyGlow Filter
FL 290mm at f1.9
SPC900NC - LX/ Amp Off
10x4s with Dark frames
Stacked with DSS
11//11/2012 01:09 AM

Friday, 9 November 2012

Field of View (FoV) Calculator

http://www.12dstring.me.uk/fov.htm

Key in the telescope information and eyepiece/camera information. Chose the simulated object to observe.

PL2303 USB to Serial Adapter Code 10 Cannot Start

Update 24/11/2012
It's still BSoD sometimes. Not the version of driver I guess.

Update 13/11/2012
Seems good so far. No BSoD yet.

Update 11/11/2012
My desktop computer seems to be crashing (BSoD) sometimes when using the SPC900nc/USB hub/Prolific serial usb COMBO. I'm not sure which one is causing the trouble. I switched the driver to this one,

USGlobalSat Prolific GPS AllinOne.
Driver Date: 10/27/2008
Driver Version: 3.3.2.105

---------------------------------------------------------------

Error: This device cannot start. (Code 10)
Solution: Install using vista driver.
Result: Will be recognised as 'This a PL-2303 XA / HXA chip' when checked using the chip checker.

Serial DB9 Pin Layout
Row of 5 (Pin 1 to 5)
2 - Rx
3 - Tx
4 - DTR (Exposure)
5 - GND

Row of 4 (Pin 6 to 9)
7 - RTS (Amp-off)

USB Pin Layout

Red      Vcc
White   Data-
Green   Data+
Black   GND

Sunday, 4 November 2012

Wh to Ah Conversion

Power(W) = Current(A) * Voltage(V)
Wh = Ah * V

Telescope 12V Portable Battery Pack Anker Astro3 9V 5V

Anker Astro3
2 USB @ 5V 2A and DC @ 9V/12V 2A
10000mAh@5V
37Wh = 3.1Ah@12V

I have been using this battery pack for the Nexstar SLT mount with C6 OTA for about 3 months. It has 12V or 9V @2A (selectable one at a time) output unlike most if not all USB battery pack which only comes with 5V output. It is larger than a regular 5V USB battery pack but way more portable than acid lead battery.
The rated energy at 12V (37Wh) seems to be lower than 5V (50Wh). Assuming the battery is 5V, there could be energy loss when converting from 5V to 12V i.e. 75% efficiency. However, I don't know the actual battery rating as I haven't cracked open the battery pack yet.
It has 4 blue LED indicators to show the battery capacity. There are rather nice with your desktop but a bit distracting to the eye in the field at night. I need to shield the LEDs behind the mount.
The instruction manual for the mount states that it requires 12VDC@750mA. I guess that is the maximum current draw when slewing at maximum speed in both Alt/Az axes. When tracking, it should use less current as it is moving at slower speed.  Even at maximum current of 750mA, the battery pack should last for about 4 hours.
During an observation session, I typically only observe 2 or 3 objects in the sky. So, that is not a lot of slewing at maximum speed. Throughout the session, the mount is always in tracking mode for both axes. When viewing at very high magnification, I need to correct the tracking by slow slewing back and forth in order to bring the object into the centre of the eyepiece or camera. The battery usage is less than 50% after about 3 hours. Sometimes, during short session, I only used out one LED. So, there is plenty of juice left. 5 or 6 hours of tracking should be possible in a single charge. May be I should measure the current consumption during tracking and slewing for better estimation.
I've retrofitted a diy arduino motor focuser to the C6 OTA and later will add a nichrome dew heater as well. We'll see how the Anker battery pack performs with the two extra gadgets.

Update 25/11/12 : Nexstar SLT and Arduino Motor Focuser Current Measurements

Power(W) = Current(A) * Voltage(V)
Wh = Ah * V

Monday, 16 July 2012

Nexstar PC interface serial cable

Handset Controller - RJ22 Telephone handset cable
PC Controller (controlling the mounth without HC) - RJ45
Connector to PC is DB9 serial connector


http://www.nexstarsite.com/